
Chat with Aquaria
Interested learning more about our products? Call us and we’ll connect you with the right product expert.
+1 888-589-4605
Interested learning more about our products? Call us and we’ll connect you with the right product expert.
Installation is straightforward, similar to installing HVAC or water treatment systems. Relying on our network of certified installers, we can get you the water you need in just days. For more detail, watch our video series below.
Installation is straightforward and predictable. Most homeowners are up and running within a few days of scheduling.

Every install starts with a careful site review. Our team will walk your property to confirm truck access, checks clearance for tree limbs, structures, and any gas, septic, or water lines that need to be worked around, and confirms your Aquaria machine's final location.
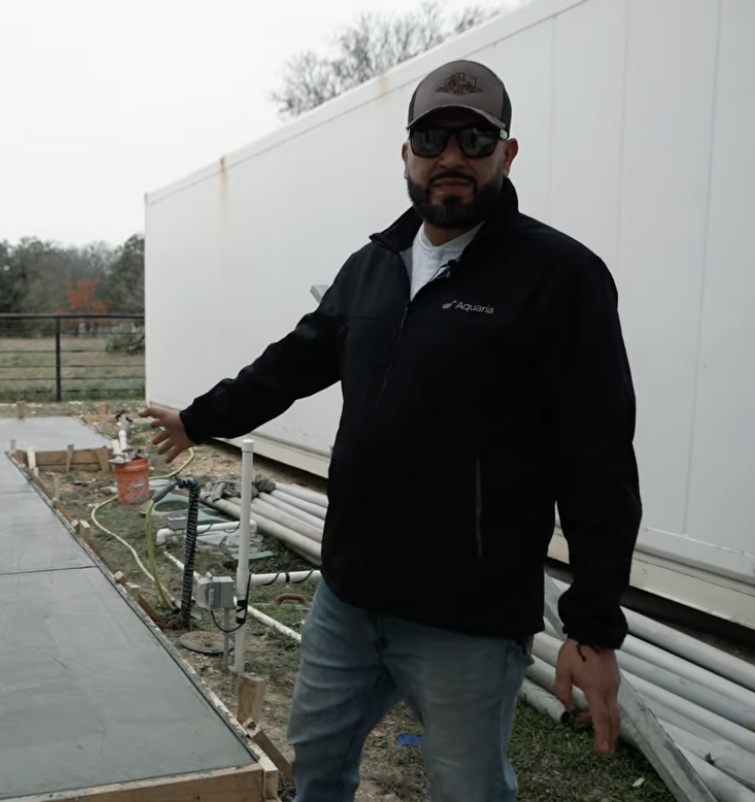
With the plan set, our team runs electrical lines from the panel to the install site using the conduit type that best fits your home. Outside, the concrete pad is laid out and sized for the unit, storage tank, and plumbing tie-in.
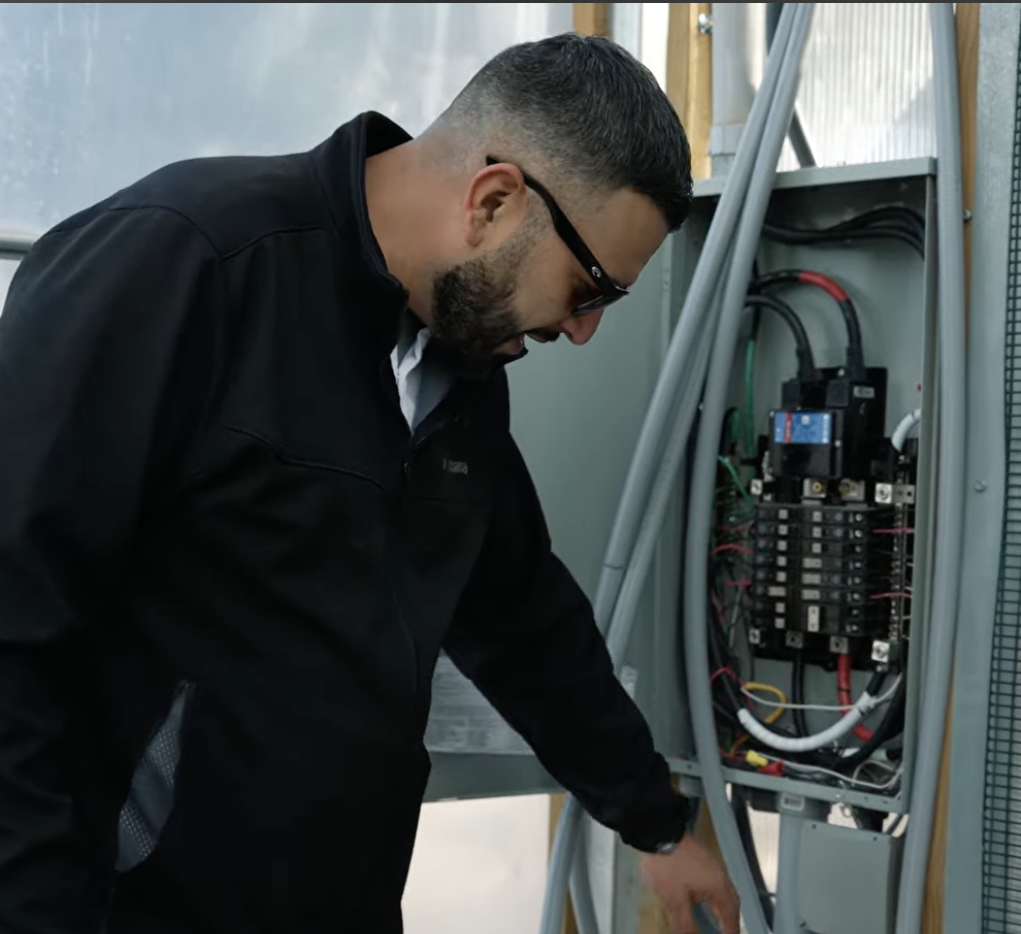
With the pad set and conduit run, the team brings everything together. Electrical is wired through junction boxes, with gauge and breaker sizes matched to your Hydropack model. Each unit comes pre-wired with 30 feet of cable, so it can be positioned exactly where you want it.
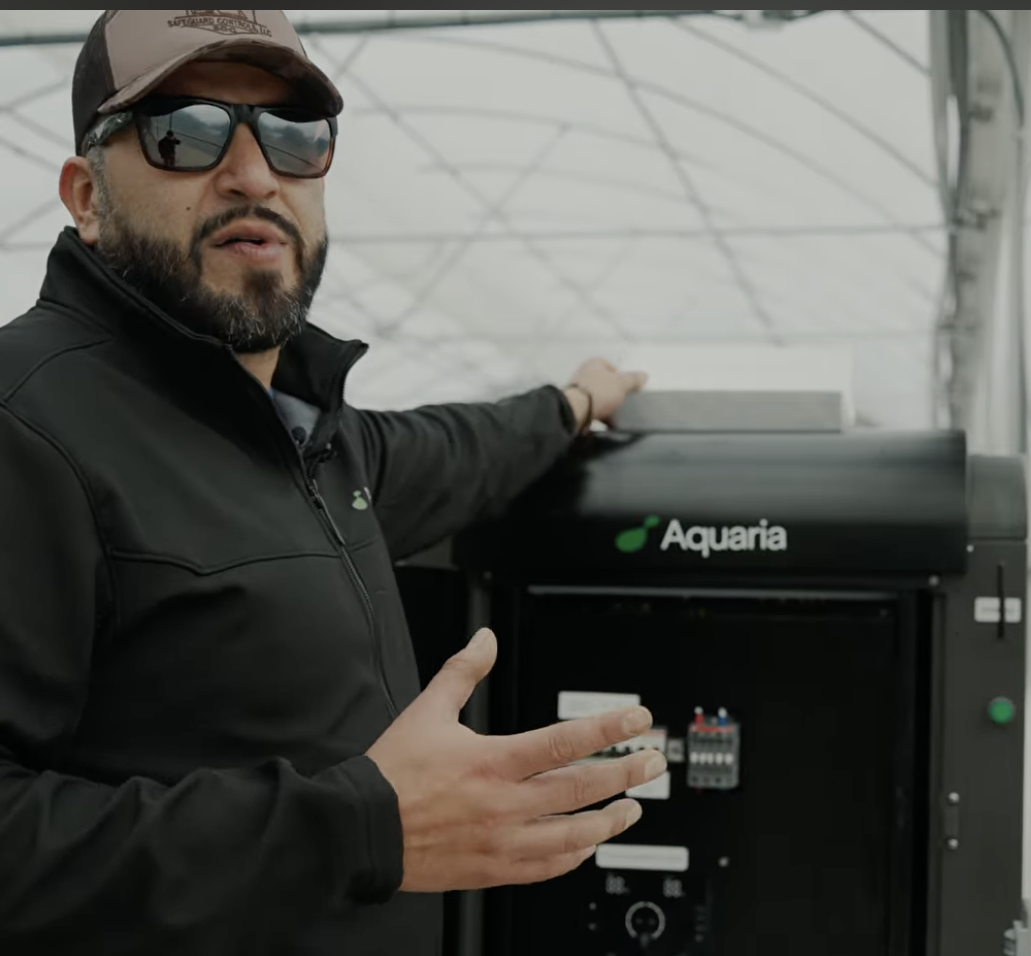
The final step. Your installer powers on each unit and walks you through the breaker sequence. Within minutes, the fans and compressor kick on and the Hydropack begins generating water. You'll get a full walkthrough of the controls and the Aquaria app before the team leaves.
Most homes already have the electrical capacity they need. Before installation begins, we review your breaker panel to confirm fit for your specific Hydropack model. If an upgrade is needed, we'll let you know during the site walkthrough.
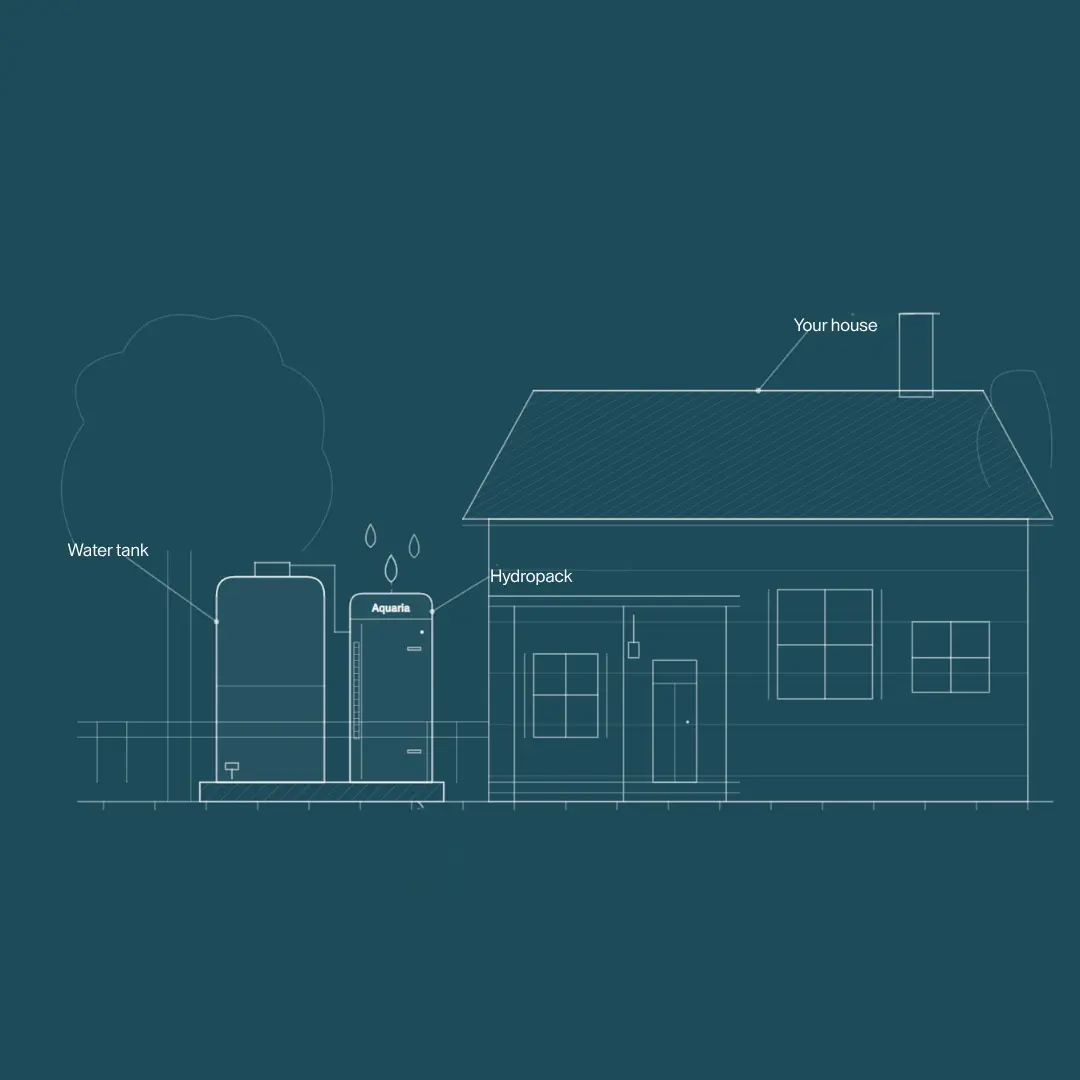
The Hydropack sits outdoors on a concrete pad, in a location chosen during the site walkthrough. We account for airflow, truck access, tree clearance, and any existing gas, septic, or water lines to make sure the placement works for your property.
Before the team leaves, your installer walks you through how to operate the system and use the Aquaria app, so you can monitor performance and manage your Hydropack from anywhere with Wi-Fi.
Most installations are completed within a few days of scheduling. The on-site work itself typically takes about two days, handled end-to-end by a certified installer.