Hydropack · Installation
Installed in days.
Built to last.
A site survey, a written quote, then water. Most installs finish in about two days — and you'll see the full number before anything gets scheduled.
What to Expect
01
Site survey
We walk the property, check your electrical panel, and identify where you'd like to site the Hydropack and tank.
02
Written quote
Every line is priced and reviewed with you before anything is ordered or scheduled.
03
Install
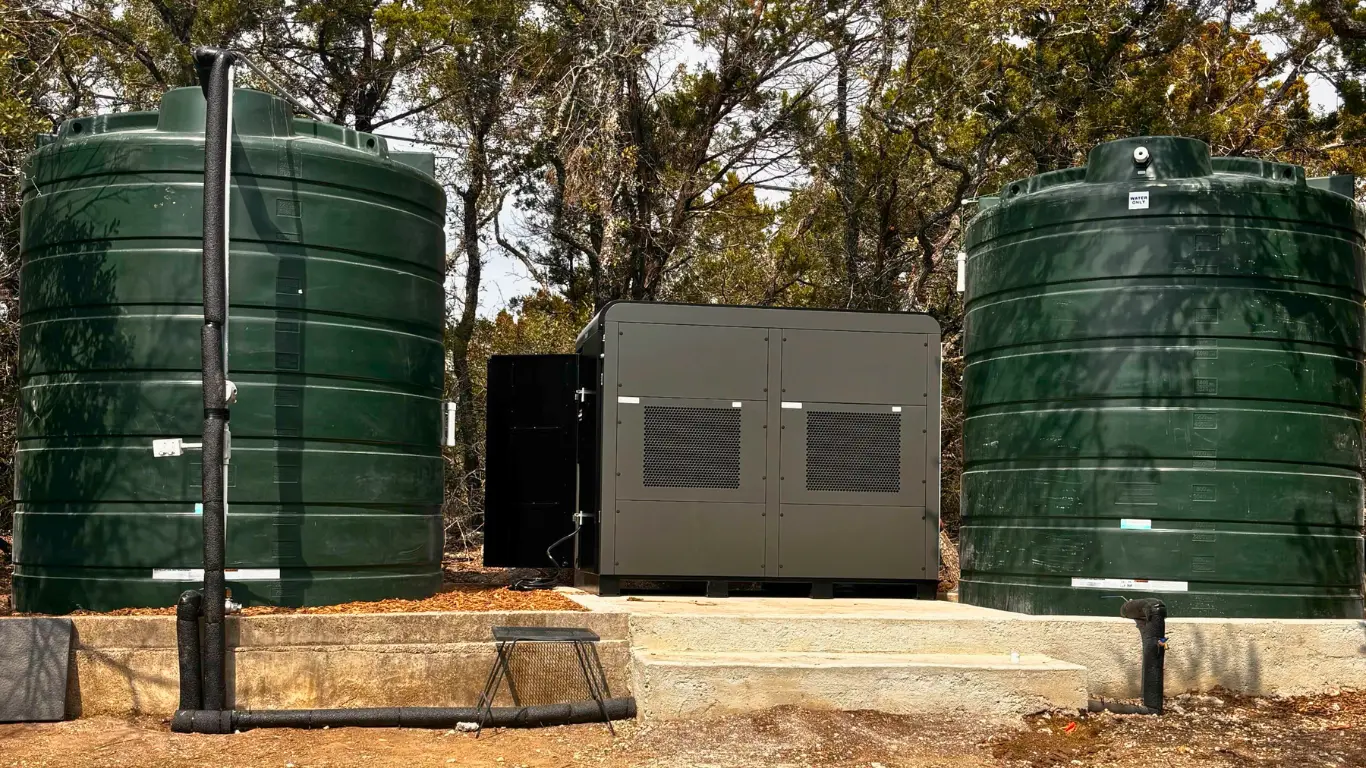
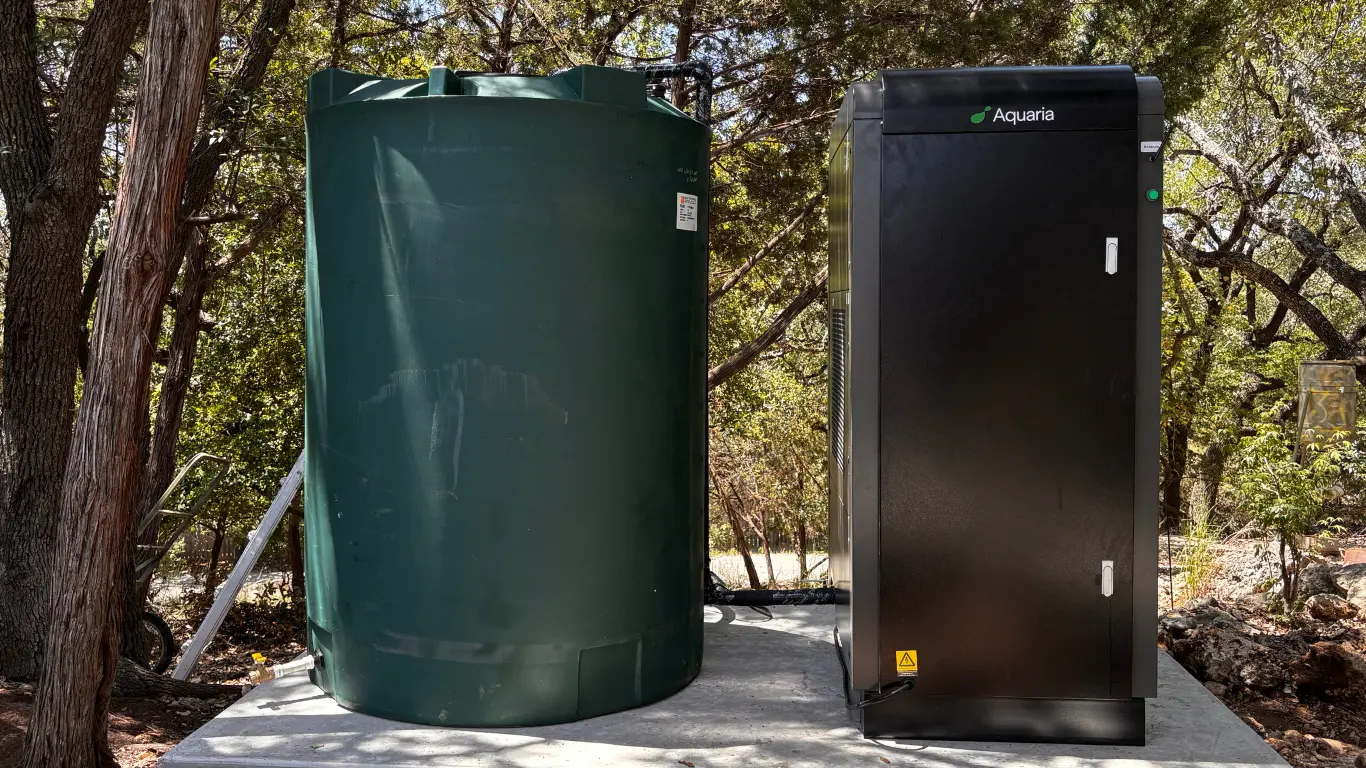
Includes Hydropack, tank, concrete pad, plumbing, and power – all typically installed over two days. Then let the water flow!
What a fully installed Hydropack costs
At a Glance: Installation Cost Drivers
01
Hydropack model
How much water you need determines the model you'll use. The bigger the unit, the bigger the concrete pad it sits on and the more electricity it uses.
02
Tank size
The Hydropack makes water on a schedule or around the clock; the tank stockiles it. A household of four uses about 200–250 gallons a day indoors, so a 1,000–1,500 gallon tank keeps a few days in reserve. It's nice to have ample storage for houseguests, topping off the pool, or to get you through a stretch of dry weather or a boil notice.
03
Distance from the house
Water and power run underground, so the farther the unit sits from the house, the more trenching you pay for. Siting Hydropack close the house is cheaper than far away. The distance from the house drives the single biggest cost difference between two otherwise identical installs.
Explore where your install cost lands
The Hydropack price is the unit. Installation is quoted separately, because it depends on your home and preferences.
Play around with the three inputs and you'll get a directional range. It's a planning tool, not a quote — your site survey is what produces the real number.
Installation Range:
Typical installation costs range from $10k-25k based on:
- Trenching: how far away you want your tank from the house
- Need for a tank, and if yes, what is the size of tank: how much of a stockpile do you want to build based on your other water source constraints
- Electrical panel upgrades: no space left in breaker box, need to install additional breaker capacity
- Concrete pad size
- Delivery charges: distance from warehouses in Austin, TX, and Los Angeles, CA), special handling charges for remote locations
- Unit only — cash purchase, no available financing through Aquaria.
- Unit and full installation — cash purchase, or financed purchase for qualified buyers.
Financing runs 0% down with no payments for six months.
Installation process, start to finish
Dive into the details covering the work as it happens on site — the walkthrough, the electrical and pad, the connections, and powering on.
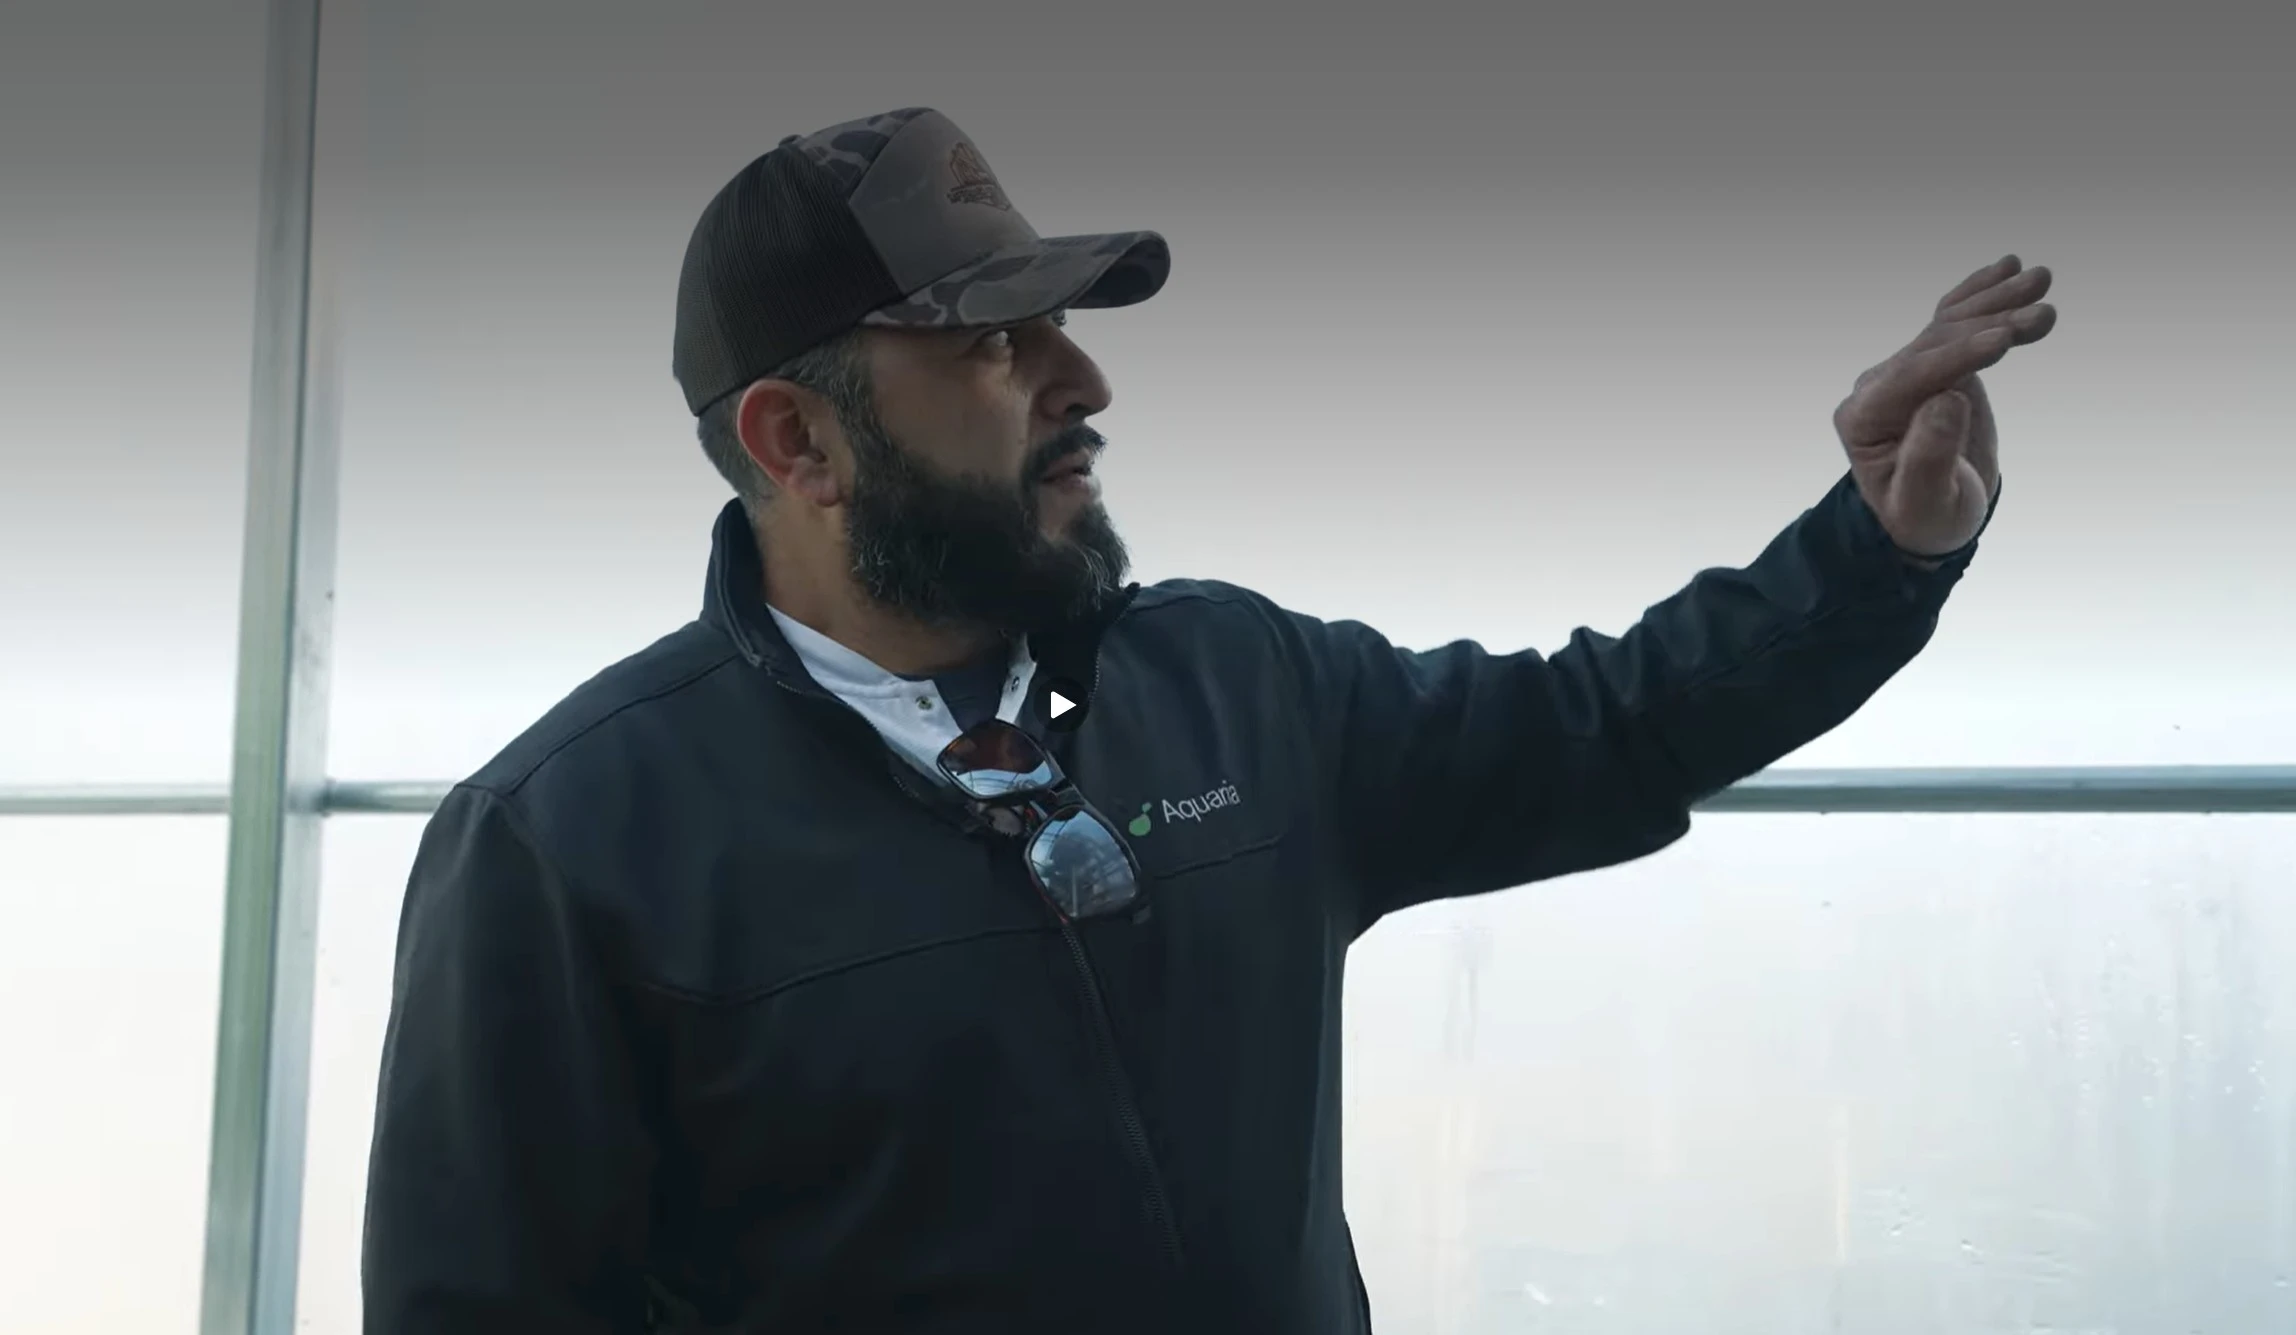
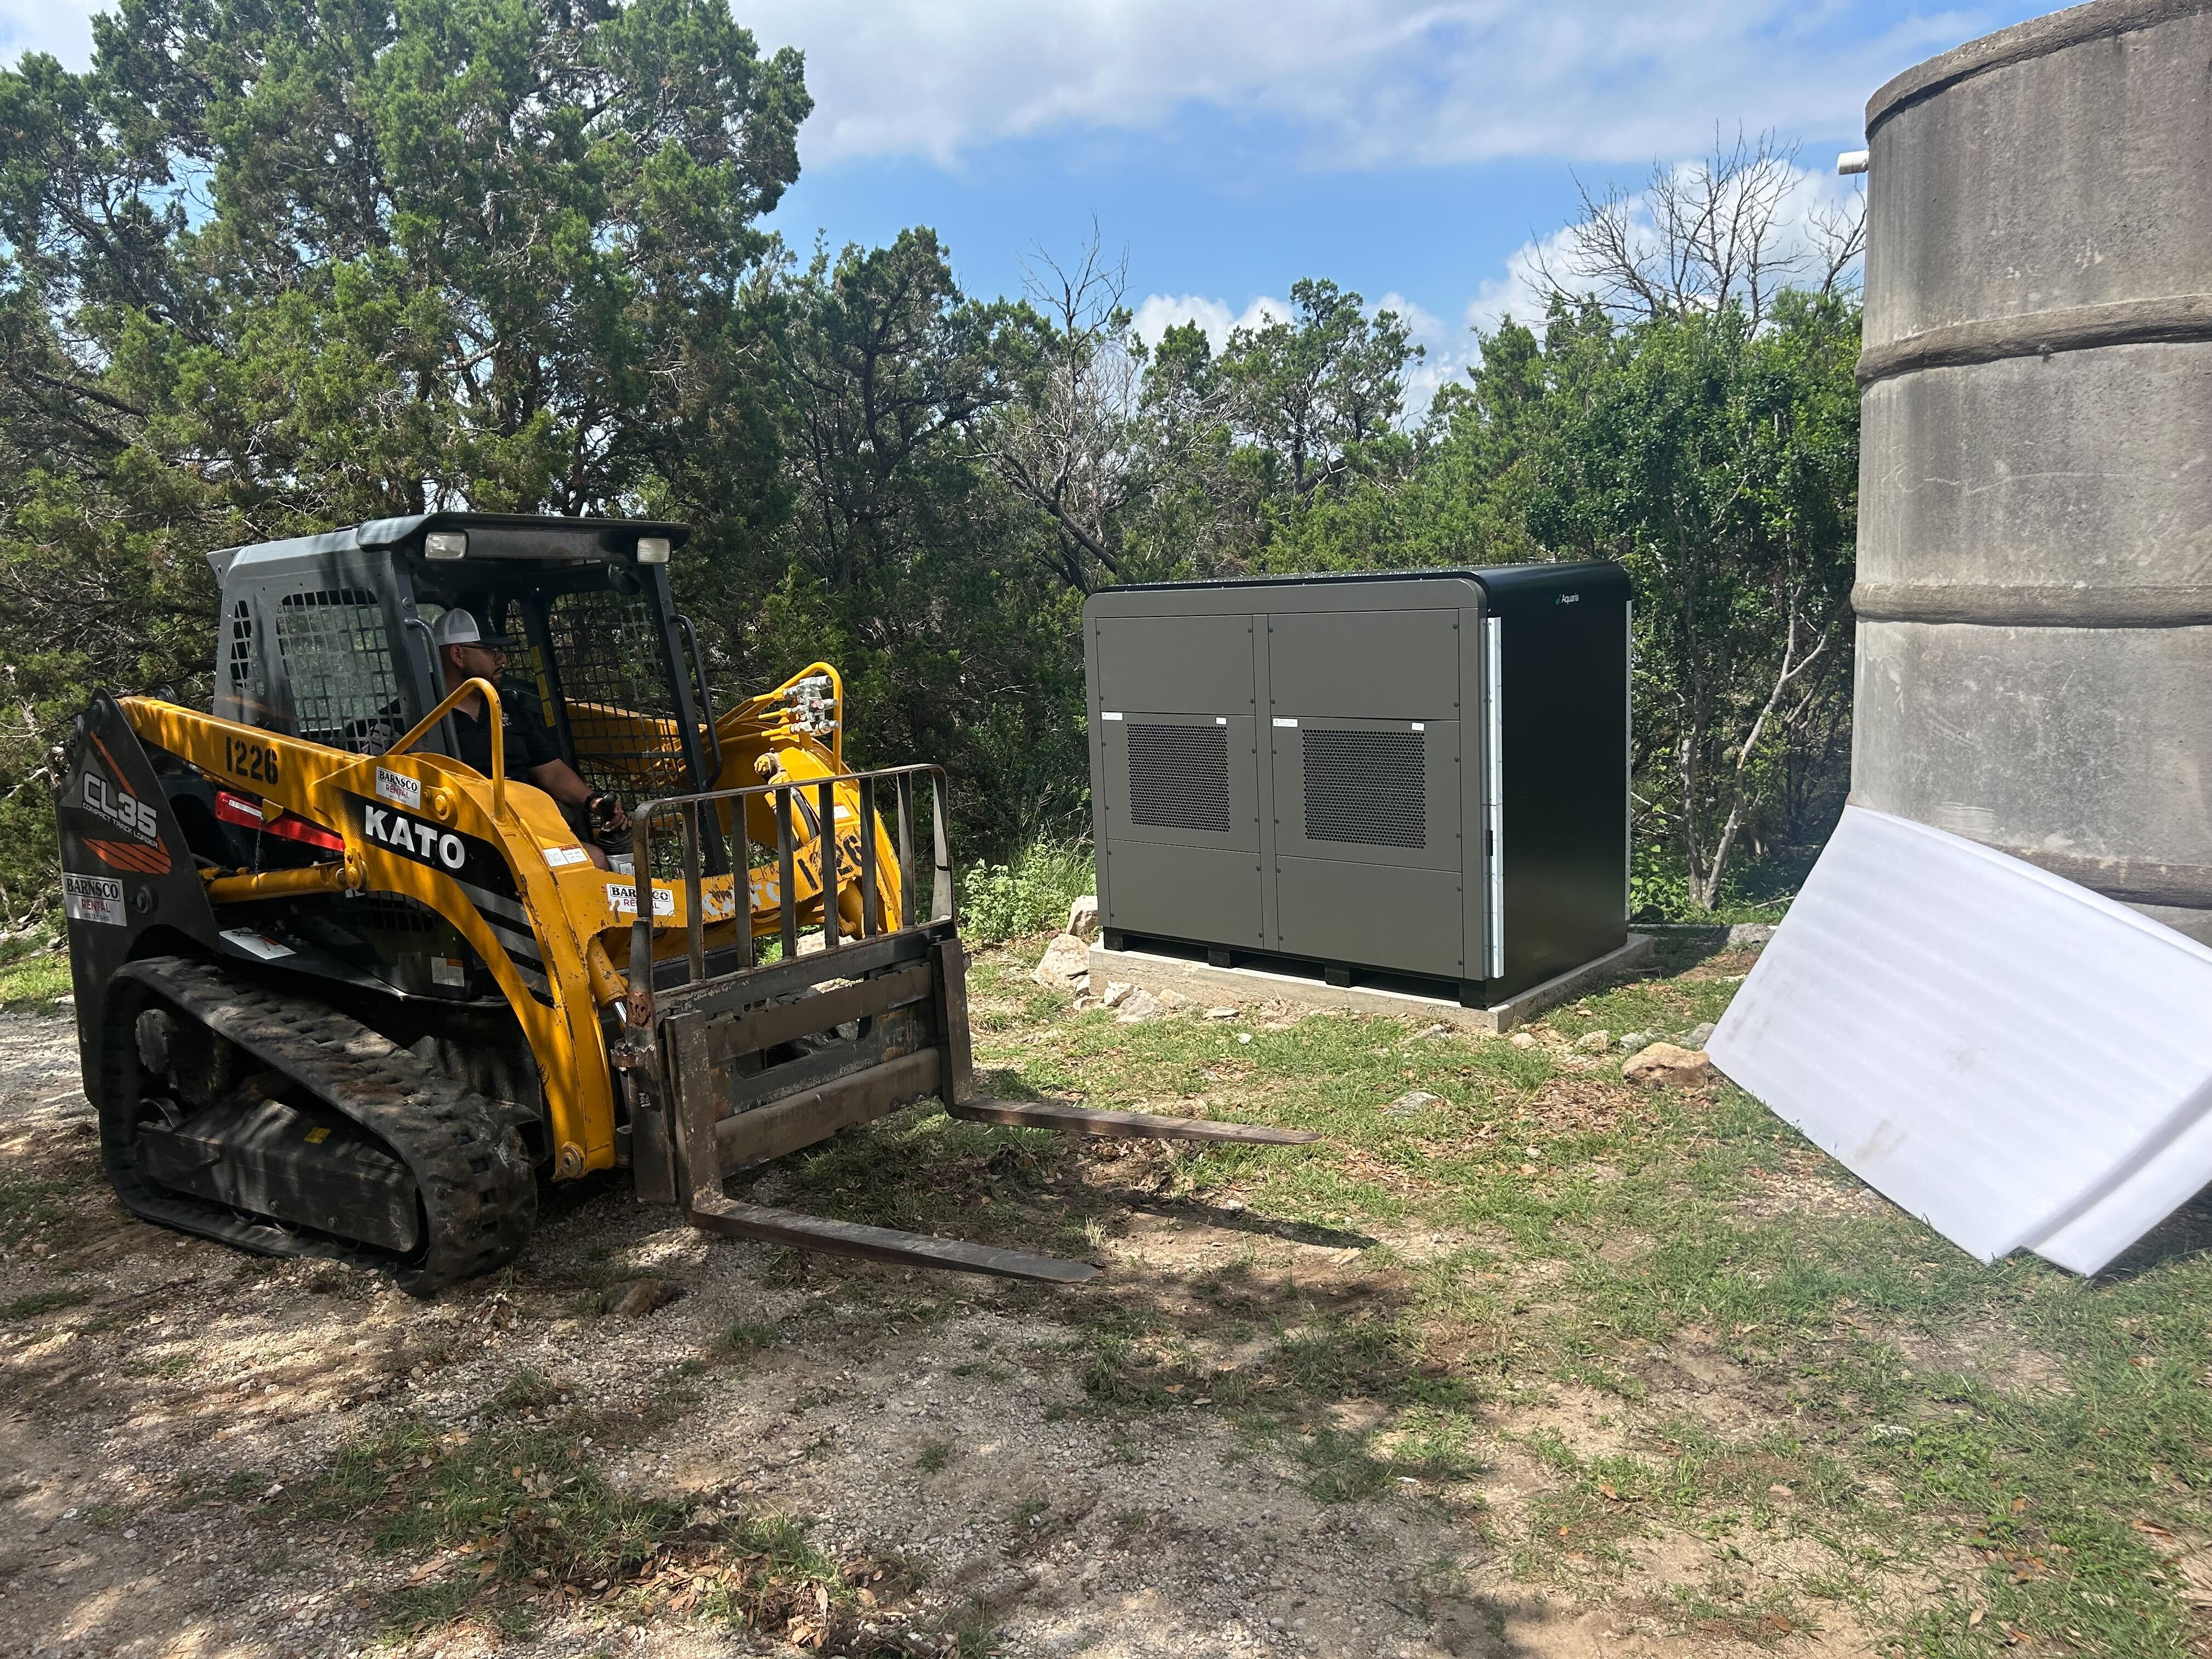
Every install starts with a careful site review. Our team will walk your property to confirm truck access, checks clearance for tree limbs, structures, and any gas, septic, or water lines that need to be worked around, and confirms your Aquaria machine's final location.
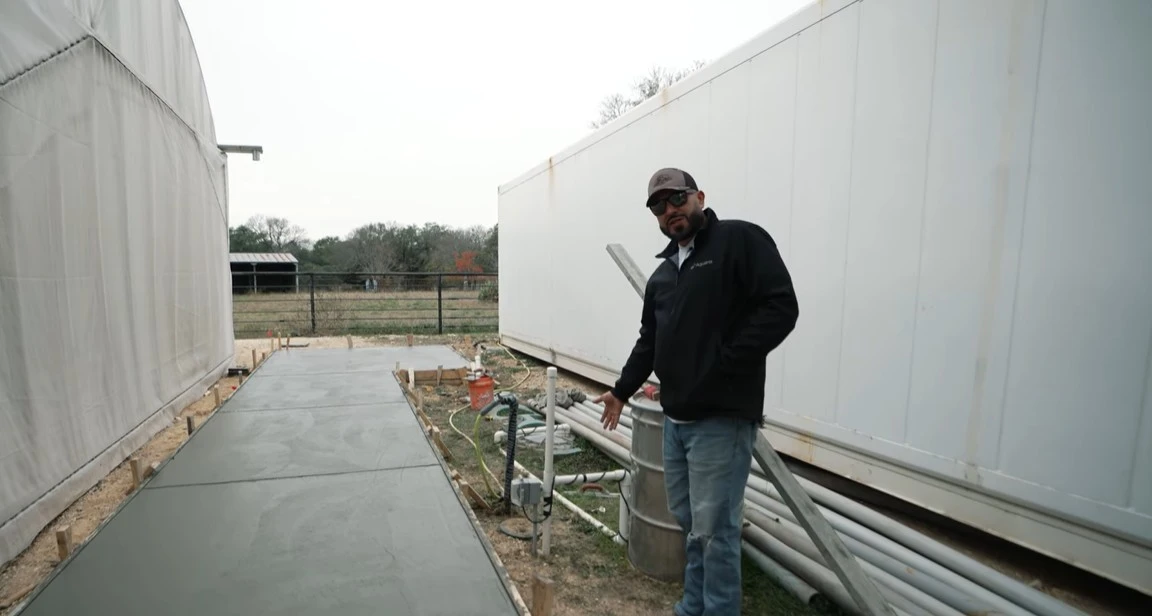
With the plan set, our team runs electrical lines from the panel to the install site using the conduit type that best fits your home. Outside, the concrete pad is laid out and sized for the unit, storage tank, and plumbing tie-in.
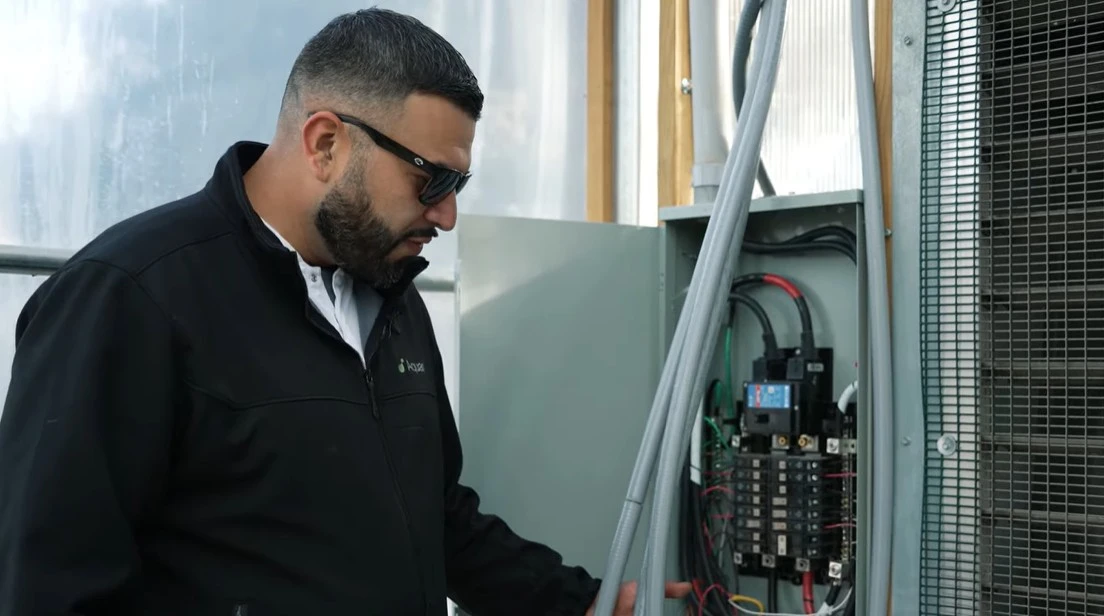
With the pad set and conduit run, the team brings everything together. Electrical is wired through junction boxes, with gauge and breaker sizes matched to your Hydropack model. Each unit comes pre-wired with 30 feet of cable, so it can be positioned exactly where you want it.
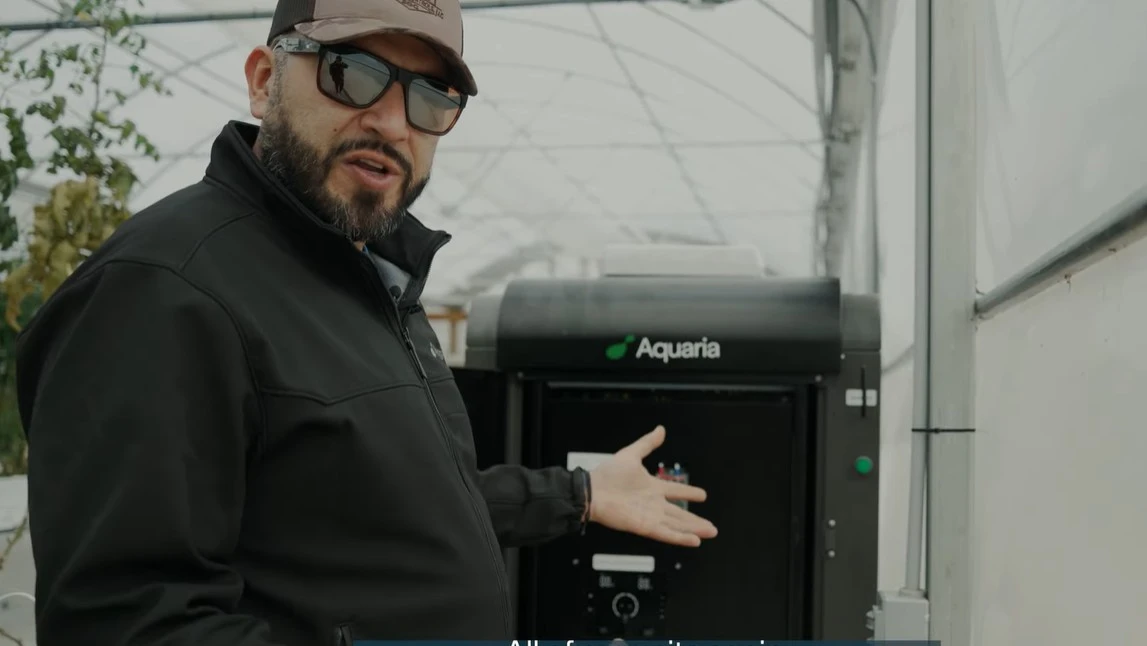
The final step. Your installer powers on each unit and walks you through the breaker sequence. Within minutes, the fans and compressor kick on and the Hydropack begins generating water. You'll get a full walkthrough of the controls and the Aquaria app before the team leaves.
Our Gallery
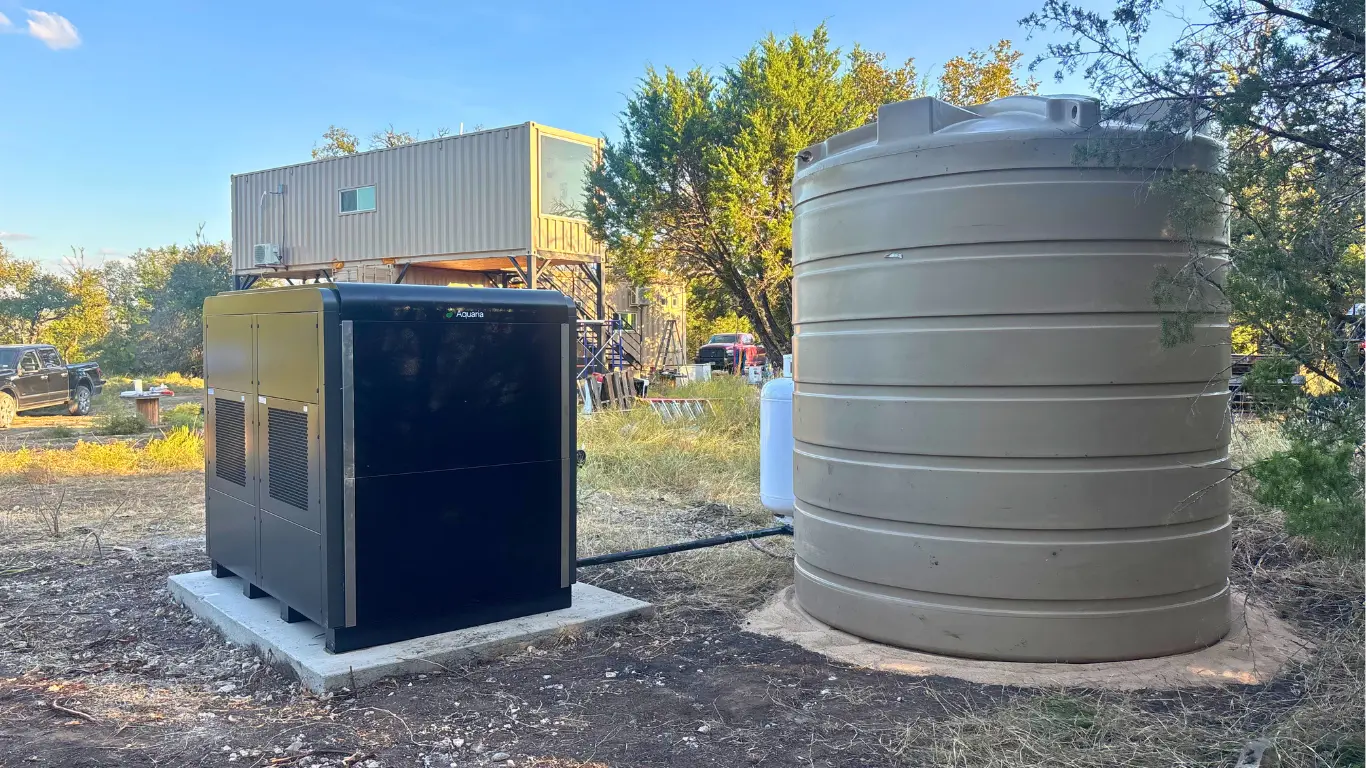

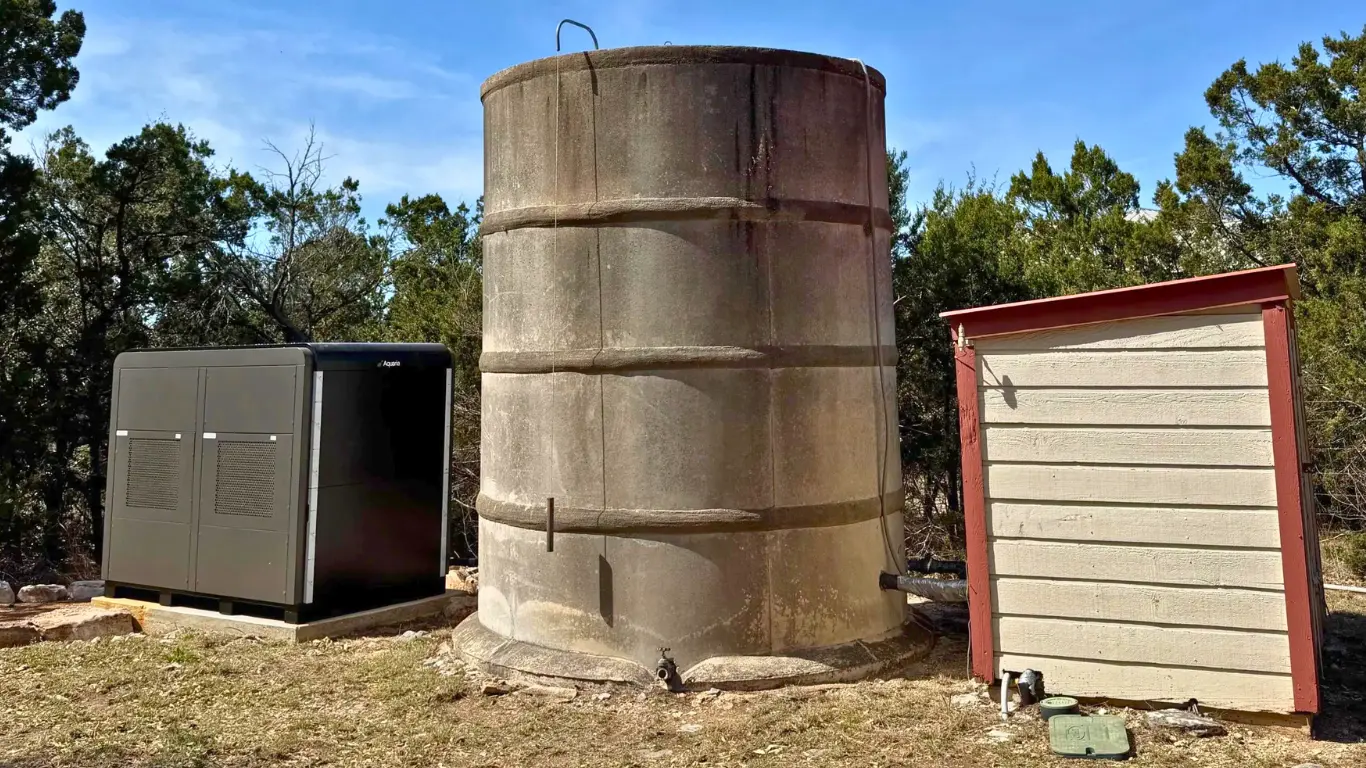
Get Your Free Water Plan
Tell us two things. What water problem are you experiencing? Where do you live?
We'll prepare Hydropack's expected water production for your location and walk you through it in a quick 15-minute meeting.
Frequently Asked Questions (FAQs)
Most homes already have the electrical capacity they need. Before installation begins, we review your breaker panel to confirm fit for your specific Hydropack model. If an upgrade is needed, we'll let you know during the site walkthrough.
The Hydropack sits outdoors on a concrete pad, in a location chosen during the site walkthrough. We account for airflow, truck access, tree clearance, and any existing gas, septic, or water lines to make sure the placement works for your property.
Before the team leaves, your installer walks you through how to operate the system and use the Aquaria app, so you can monitor performance and manage your Hydropack from anywhere with Wi-Fi.
Most installations are completed within a few days of scheduling. The on-site work itself typically takes about two days, handled end-to-end by a certified installer.